So I find myself loving blues and greens for dresses. Its just fun to see them in something other than pink. AND I have THREE daughters, so I see A.L.O.T of pink. All day, everyday............
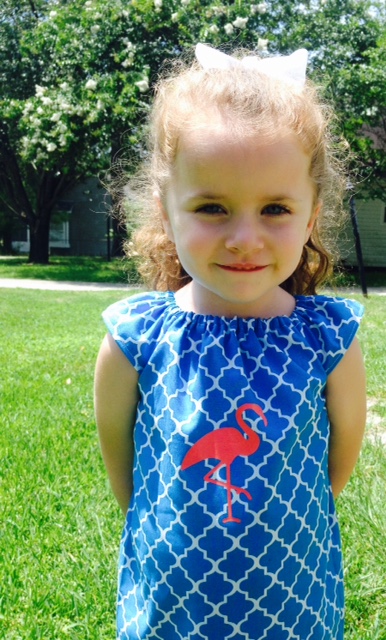
So I decided to make my middle baby a flutter sleeved dress. I think I make her the most dresses, as my oldest is more of a tomboy and would rather have shorts and t-shirts. Also, my youngest baby will be able to wear the dresses when she gets of age. As long as I don't add her monogram or name. ;)
So on to the tutorial! I will try and not make it a long tute, but I can't promise anything!
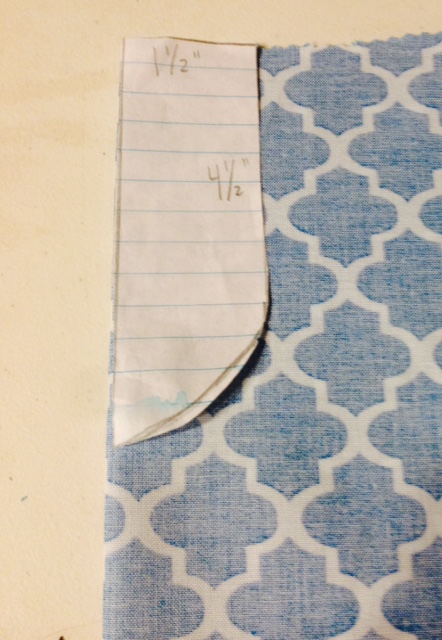
I have this beautiful royal blue quatrefoil print fabric that was purchased from my local Wal-Mart. It comes in MANY colors, but the blue really jumped out at me...
Her bust measurement was 20" so on the fold (which is where my tape starts, sorry didn't mark it on the picture!!) So half of that is 10" but I added an extra 3" for seam allowance and since I didn't want it super tight. Also, I know from previous dresses, that the length would be 18" (finished, hemmed and all) but I wanted to make this dress a tad longer, so in this tutorial I just used whatever was saved from being cut. I think it was about 25"? I'm not sure, sorry....
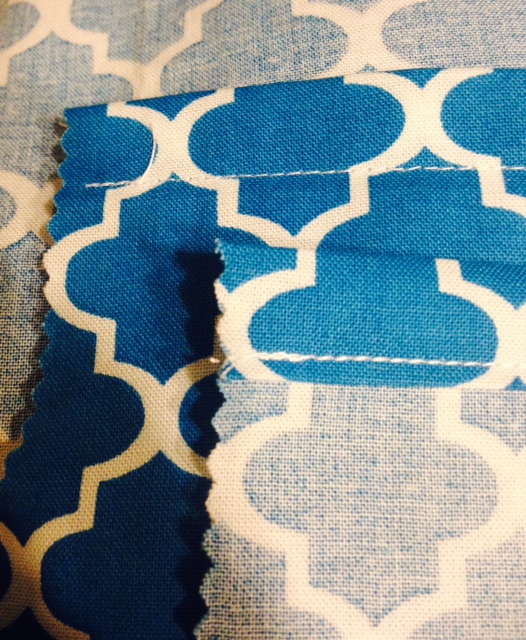
ALSO, not pictured, turn dress inside out, press, and sew using a straight stitch up the long side of your dress, creating a side seam. I had about a .5" seam allowance.
Press seam.
Cut the sleeve out for both sides. With either the fabric wrong side or right side out. Either way is fine.
Now we need to create our casing for the elastic. I folded down about .5", pressed, and then folded down another .5" and pressed again. I repeated for the opposite side as well, so while at my sewing machine, I can sew both during one sitting.
Place a safety pin through one end of your elastic, for easy threading. My elastic was about 6" long, but I did trim off a little.
Feed through the elastic casing until the end of the elastic is lined up with the end of the casing.
Take this to the sewing machine. What I do on elastic, is straight stitch and backstitch at the end, about four or five times to secure. Most people zigzag stitch, but its your preference!
Finish threading your safety pin elastic through the other side, making the dress scrunch. Repeat with the straight stitch, backstitch process until secure.
Repeat for the other side of the dress.
It was my oldest daughters idea, and I must say, its quite adorable! You don't need to add anything if you don't want to! You can also take this to your embroidery machine, and add an applique or whatever you decide! UP TO YOU!
Now lets make those sleeves more comfortable for baby armpits, that gets lots and lots of tickles throughout the day...
What I did, instead of using bias tape (which you can do if you like, using the same fabric), I folded down itty bitty amount. Like I can't even tell you the measurement, as its tiny.
I pressed that down (which was difficult with the elastic, but totally worked) and folded down a little bit more. Took that to the sewing machine, and sewed a small straight stitch from elastic casing to the next.
Repeat for the other sleeve. Press when finished. Super cute!!!
Now we need to create the sleeves. I have heard of many different ways of attaching and making flutter sleeves, but this is the easiest way to me.
I cut TWO 8" x 4.5" rectangles of fabric. I just eye measured for the sleeves, but you can measure your little one if you prefer.
We are now going to hem the bottom of both sleeves rectangles.
Fold down about .5", press, and then fold over once more, and press again. Now, I don't measure anything when hemming. Just make a hem as you see fit. I know its weird, but I can't help not taking accurate measurements. I DON'T LIKE RULES DAMNIT! :D :D :D
Repeat that process for both rectangle sleeves.
Take to the machine and sew using a straight stitch. Please make sure you are backstitching. Everything.
Now to create another casing for your elastic.
Fold down the same way as you did the neck piece. Press, and fold down once more. Press. Sew using a straight stitch. Repeat for both rectangles.
I cut my elastic about 4". I trimmed off, honestly, very little once finished fishing it through and sewing a straight stitch, and backstitching to secure both ends.
Repeat on both sleeve rectangles.
Now this is gonna look like a cute little American Doll skirt, but don't be tempted!! As I always am. Haha.
You should now have two "American doll skirts". Time to attach to your dress.
This was kinda difficult to take pictures off, but you are basically putting right sides together. Elastic of sleeve, to elastic of dress. Its a pain in the ass to sew through, but it works! TRUST ME.
I pinned my sleeve to the dress, and headed to the sewing machine. I sewed with about a 3/8" seam allowance on this, but whatever floats your boat.
Repeat on the back side of the dress. You have to do some maneuvering to sew it on, but its quite simple. Just don't forget to backstitch!
Do the same on the other sleeve.
Make sure to check the measurement you would like it to hang on the child, and hem the bottom of the dress. As in my dress will end up being about 20" long, so I measured from the neck to 21" and cut. Folded .5" up towards the wrong side of the fabric, pressed, and folded another .5" and pressed once more. Sewed the whole thing with a straight stitch. Perfect little hem :)
TADA! Your dress is b-e-a-uuuuutiful!
(I know that last picture has only one sleeve, I just got excited to take the picture!)
I hope you enjoyed this tutorial, as I know I'm not the only one on the world wide web to have a dress tutorial, but I do appreciate you stitchin' with me today!
Happy Stitchin'!